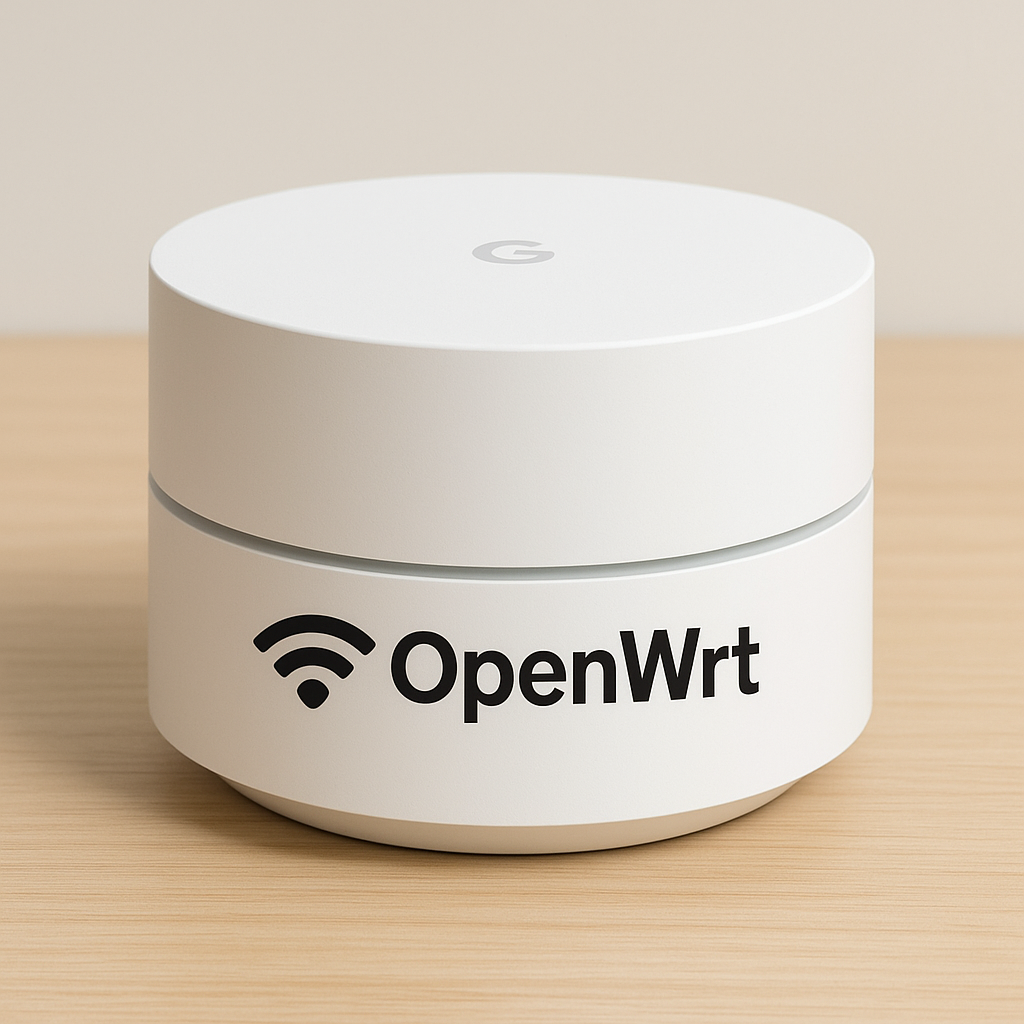
I’ve got a few Google WiFi AC-1304 units (codename Gale, because apparently even routers need superhero names!!). They worked flawlessly in my Stockholm apartment, but after moving to Bangalore and upgrading to shiny new TP-Link WiFi 6 gear, the old Googles were basically on vacation — gathering dust in style.
I managed to sell a few, but one stubborn little puck refused to leave — mainly because I somehow lost the QR code sticker from the bottom. And of course, Google decided that QR code is the holy grail for setup. Without it, the Google Home app throws a full-blown tantrum and refuses to recognize the device. Probably got lost somewhere between Sweden and India. Classic me. 😅
I was this close to dumping it in the recycle bin when — 💡 Voila! — OpenWRT popped into my head. Why not, right? It’s got a Qualcomm-based processor that’s fully supported, and sure enough, it’s right there on the OpenWRT website.
So I rolled up my sleeves and followed the flashing instructions. Once. Twice. Thrice. Every time, failure waved hello like an old friend. At that point, I said, “Alright, time to do this the foolproof way.”
⚙️ Step-by-Step: Flashing OpenWRT on Google WiFi AC-1304
🪄 Step 1: Factory Reset & Flash Galeforce
- Factory reset your Google WiFi AC-1304 by pressing the reset button on the front.
- Follow the process at Galeforce GitHub and flash the latest Galeforce firmware.
- Let it boot up.
- Meanwhile, download the factory OpenWRT image from OpenWRT’s page and save it as
openwrt.bin.
💻 Step 2: Connect via SSH & Upload OpenWRT
- Connect a LAN cable from your computer to the LAN port on the Google WiFi.
- Wait for it to assign an IP via DHCP.
- SSH to 192.168.84.1 with login: root password: changeme
- Change the shell:
root@localhost $ chsh
Login Shell [/bin/dash]: /bin/bash- Start an FTP server on the device:
/usr/local/galeforce/bin/busybox tcpsvd -vE 0.0.0.0 21 ftpd -w /tmp
- From your computer, connect via FTP to
192.168.84.1and uploadopenwrt.binto the/tmpfolder.
🔥 Step 3: Flash the OpenWRT Image
dd if=/dev/zero bs=512 seek=7634911 of=/dev/mmcblk0 count=33 && dd if=/tmp/openwrt.bin of=/dev/mmcblk0
Then unplug the power cable, reconnect, and let it boot.
🚀 Step 4: First Boot
Wait a few minutes, then SSH into:
ssh [email protected]
(No password needed yet. just login: root )
Or open a browser and visit 192.168.1.1 — that’s LuCI, the OpenWRT web interface.
🌐 Step 5: Get Online
Plug in your internet cable to the WAN port, or connect to your existing WiFi via LuCI.
(If unsure, YouTube is your best buddy here.)
🧩 Step 6: Update & Install Goodies
opkg update && opkg list-upgradable | cut -f 1 -d ' ' | xargs -r opkg upgrade
opkg remove wpad-basic-mbedtls
opkg install cfdisk resize2fs irqbalance nano luci-app-attendedsysupgrade luci-compat wpad-wolfssl
💾 Step 7: Unlock Full 4GB Storage
cfdisk /dev/mmcblk0
Resize the last partition to fill all free space → write the table → reboot.
Then run:
resize2fs /dev/loop0
Boom, full 4GB unlocked.
🚫 Step 8: Disable IPv6 (Optional)
uci set 'network.lan.ipv6=0'
uci set 'network.wan.ipv6=0'
/etc/init.d/odhcpd disable
/etc/init.d/odhcpd stop
uci -q delete dhcp.lan.dhcpv6
uci -q delete dhcp.lan.ra
uci set network.lan.delegate="0"
uci -q delete network.ula_prefix
uci commit
/etc/init.d/network restart
/etc/init.d/odhcpd restart
⚡ Step 9: Enable IRQBalance
Enabling irqbalance to use all CPU cores
sed -i "s/option enabled '[0-9]'/option enabled '1'/" /etc/config/irqbalance
/etc/init.d/irqbalance restart
Reboot once — because, you know, it’s tradition.
🧠 Step 10: Upgrade to the Custom Power Build
Download the pre-compiled OpenWRT 24.10.4 image (includes Adblock-Fast, SQM/QoS, Docker Manager, UPNP, and TravelMate — yes, Docker on a router! You have 4 GB storage now, remember ?
Then in LuCI:
System → Backup/Flash Firmware → Flash new image
Upload it, and hit Flash Firmware.
🎉 The Result
And that’s it — you’ve just resurrected a Google WiFi AC-1304 into a fully loaded OpenWRT 24.10.4 router (as of Nov 5, 2025).
No QR code. No tantrums. Just pure Linux freedom on a tiny round puck. 😎

